Good timelines combine research, clarity, and careful design to turn chronological data into an engaging narrative. Before drafting visuals, a clear plan helps prioritize events, sources, and audience needs so the timeline communicates meaning rather than merely listing dates. This piece outlines a step-by-step workflow that teams and solo researchers can adapt to different scales of projects. Follow these practical stages to develop timelines that are accurate, informative, and easy to navigate.
Define scope and audience
Start by defining the temporal and topical scope: decide the start and end points and which themes or event types will appear. Clarify who will use the timeline and why, since educators, visitors, and scholars will have different expectations for detail and context. Narrowing scope prevents clutter and ensures each included item contributes to the story. Setting these boundaries early reduces revisions and keeps research focused.
Document the scope and audience as a short brief to guide later decisions. This brief becomes the reference for selecting sources and visual conventions during production.
Research strategies and source evaluation
Gather primary and secondary sources that directly support dates, descriptions, and context for each event. Prioritize contemporary records and peer-reviewed studies, and note where evidence is uncertain or contested to avoid presenting speculation as fact. Keep a consistent citation method and an annotated bibliography so every timeline entry links to its source material. Transparency about provenance strengthens credibility and allows future updates.
When sources conflict, record alternative interpretations and include footnotes or explanatory entries. This practice maintains accuracy and invites informed engagement from your audience.
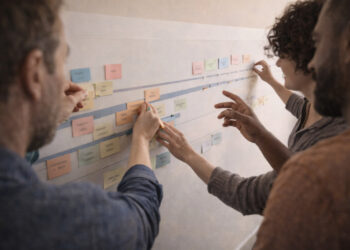
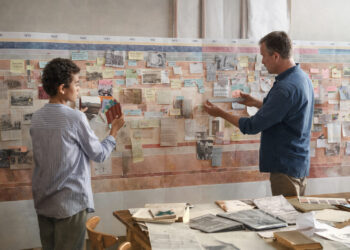
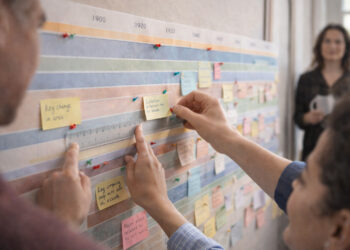
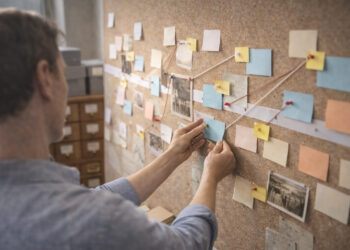
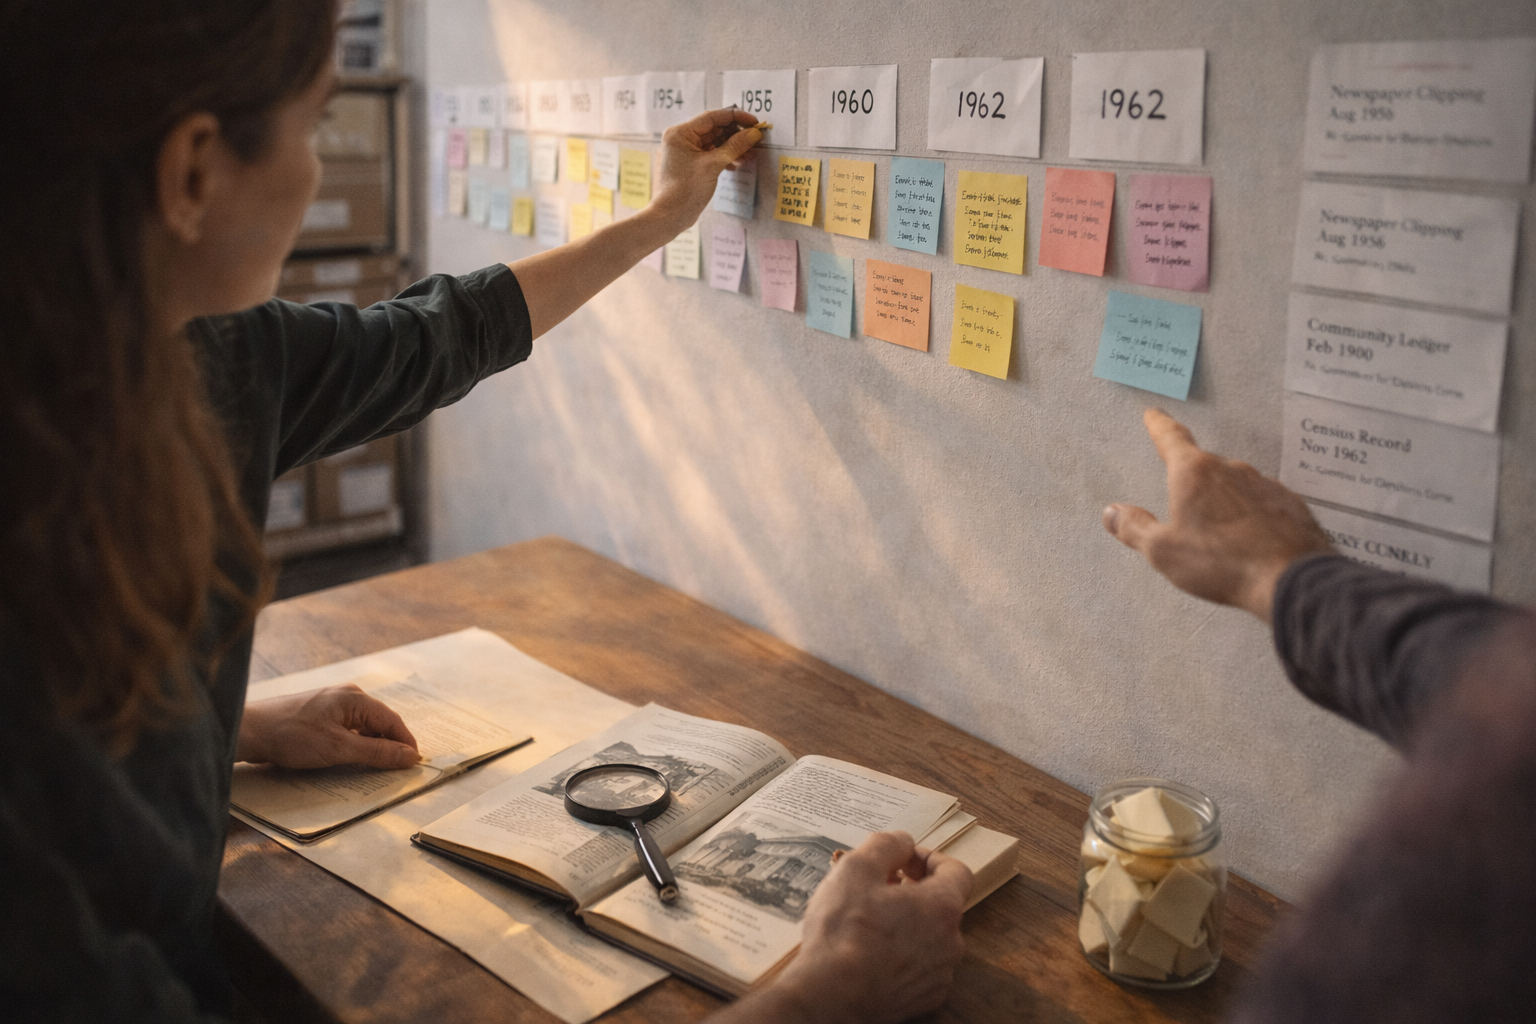
Visual organization and scale
Decide on a visual model—linear, modular, or layered—based on how the audience will explore the timeline and how dense the content is. Use scale and spacing to convey duration and relative importance, and apply consistent typography and color to distinguish categories or themes. Include contextual markers such as maps, portraits, or short side notes to situate events without overwhelming the main chronology. Balance detail and whitespace to preserve readability across display sizes.
Prototype early with simple sketches or digital mockups and test them with representative users. Iteration at the design stage prevents costly changes after extensive data entry.
Conclusion
Effective historical timelines rest on clear scope, rigorous sourcing, and considered visual structure. Following a structured workflow keeps projects accurate, interpretable, and adaptable. With documentation and user testing, timelines become durable tools for both education and research.